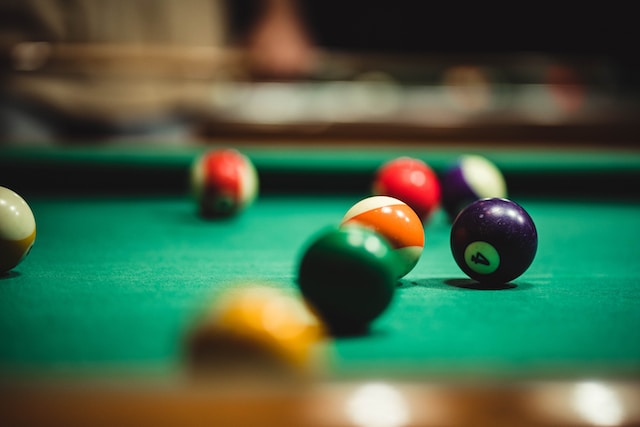
A quality pool table is a wonderful addition to any home. However, its heftiness can pose challenges when moving it to its new location.
To help with this process, this guide will cover some expert tips effortlessly on how to assemble a slate pool table Raleigh, NC. We will also include some helpful advice to remember throughout the disassembly and reassembly process.
Use a Level
Using a level to measure your pool table’s short side-to-side and middle line is extremely important. This allows you to shim your slate, ensuring it is perfectly level across its surface. If your pool table is leveled, it will throw off gameplay.
While significant damage to your slate may require professional repair, smaller cracks or chips are easy to fix. You can patch them with Plaster of Paris or a carpenter’s level.
You’ll also need a sturdy ladder, an electric drill, a wrench and screwdriver, eye protection, a level, wooden shims, and beeswax to install your table. You’ll also want a few strong friends to help you out. A pro can inspect your pool table frame for breaks, cracks, and other imperfections that you could miss with the naked eye and include new felt right into the price of the job! This saves you a lot of headaches.
Shim the Slates
Before you put the slates on, the frame should be leveled by putting rubber or wood shims beneath each foot of the table. Once it is, the slates will be screwed to the frame, and the seams of the pieces will be filled in (typically with natural beeswax) to make sure they won’t sag.
If you are assembling a three-piece slate pool table, you should center the first center piece of slate by visually looking at it. Next, move to that same centerpiece’s left and right side and adjust as needed.
Lastly, you will center the other two middle pieces of slate. Once done, you can put in the pocket openings and staple the felt. Always remember to pull the cloth taut before you staple it! This prevents wrinkles from forming. It also gives the felt a better feel and will allow you to play much more easily.
Place a Felt
Its slate does not just define a pool table’s quality; it’s also largely determined by the type of felt that covers it. This material must be properly maintained to play like new. A few common signs the felt is due for a replacement are faded color, bald spots, and large tears that cannot be repaired.
If you plan to refelt your table, ensure the playing surface and rails are clean and free of stains or chalk. It is also important to have a helping hand, as refelting a pool table can be heavy.
Once the table is clear, you can begin stapling the felt. Begin with the center of the table, and work your way around the perimeter. Be sure to stretch the cloth taut as you staple it. You should also avoid reusing old or ragged pieces of felt, as they are more likely to wrinkle and cause unevenness in the playing surface.
Secure the Slates
Regardless of what type of pool table you have, it is important to secure the slates. This will keep the pieces from moving and causing damage to the playing surface.
Start with the head slate and measure the overhang about the pool table’s frame. Then, use the same measurement on the end slate to center it. You do not need to be perfectly centered, but approximately centered will work fine.
Once you have centered your slate, it is time to staple the felt. If you prefer not to staple, you can instead use glue. However, it would help if you pulled the felt taut before stapling to prevent any wrinkles from forming on the playing surface. Also, use a waterproof adhesive for the best results when using glue. You can find waterproof adhesives at any hardware store. It will help protect your feet from moisture and ensure it lasts longer.